


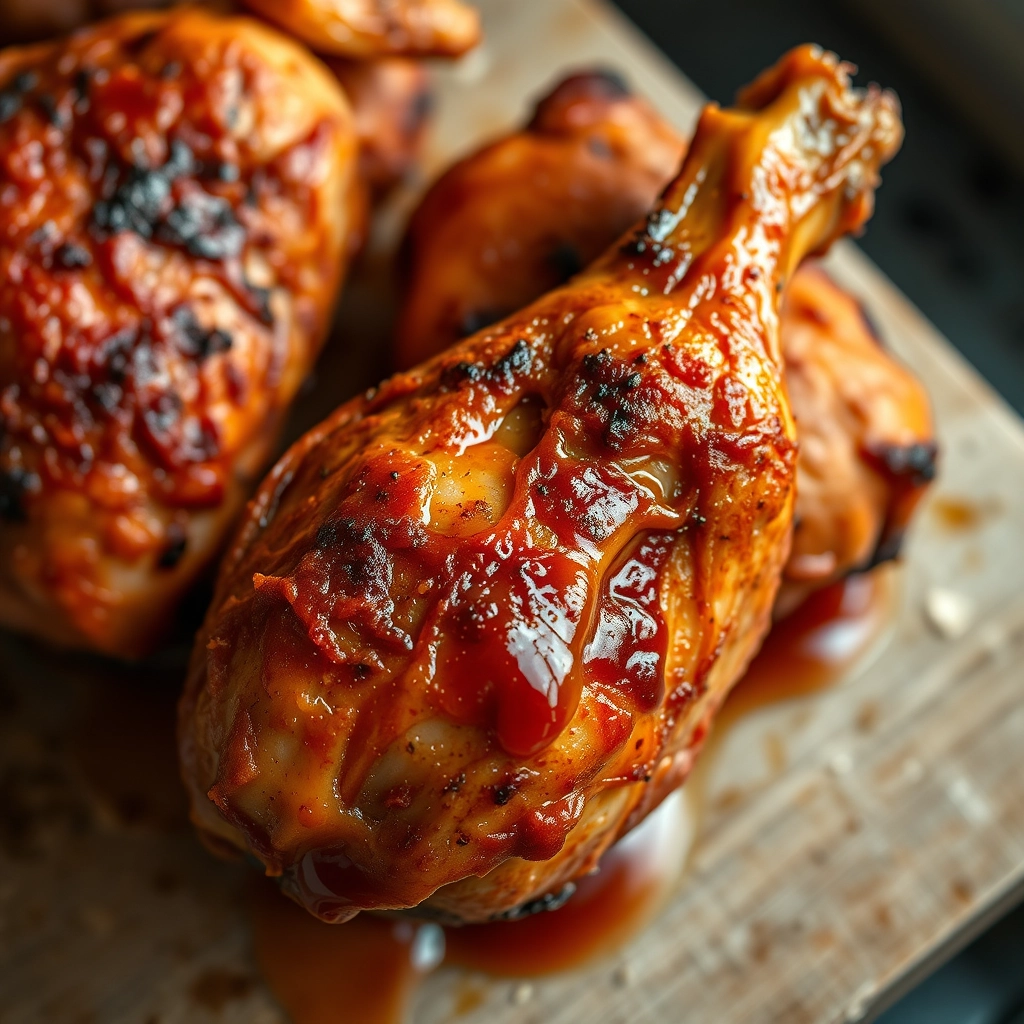
There’s something so comforting about the aroma of chicken roasting in the oven—golden, crispy skin giving way to tender, juicy meat underneath. It’s the kind of meal that feels like a warm hug after a long day, and these oven-baked chicken legs are my go-to when I want something simple yet utterly satisfying. Whether it’s a busy weeknight or a lazy Sunday dinner, this recipe never fails to deliver.
Ingredients You’ll Need
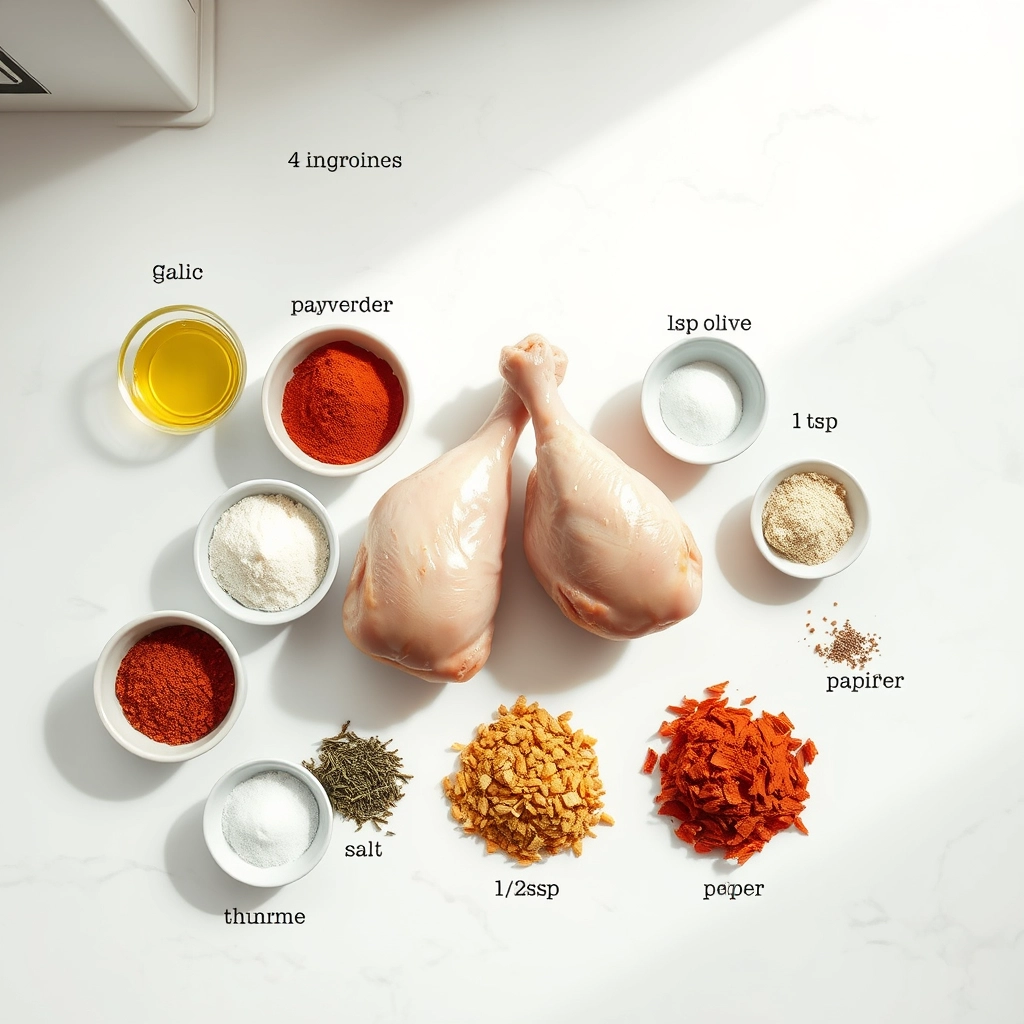
Gathering the right ingredients is the first step to achieving that perfect balance of crispiness and juiciness. Here’s what you’ll need:
- Chicken legs (drumsticks) – The star of the show! I prefer bone-in, skin-on for maximum flavor and texture.
- Olive oil – A good drizzle helps crisp up the skin and keeps the meat moist.
- Garlic powder – For that deep, savory note we all love.
- Paprika – Smoked or sweet, depending on your preference. It adds a beautiful color and subtle warmth.
- Dried thyme – A little earthy, herby goodness to round out the flavors.
- Salt and black pepper – Essential for seasoning. Don’t skimp!
- Optional: a squeeze of lemon – Brightens everything up beautifully.
Step-by-Step Guide to Perfect Chicken Legs
Now, let’s get cooking! Follow these simple steps for the crispiest, juiciest chicken legs every time.
- Preheat your oven to 425°F (220°C). A hot oven is key for crispy skin.
- Pat the chicken dry with paper towels. Moisture is the enemy of crispiness!
- Season generously. Drizzle the chicken with olive oil, then rub in the garlic powder, paprika, thyme, salt, and pepper. Don’t be shy—every inch should be coated.
- Arrange on a baking sheet. Place the chicken legs on a rack (if you have one) or directly on a lined baking sheet, skin-side up. This ensures even cooking and crispiness.
- Bake for 35–40 minutes, or until the skin is golden and the internal temperature reaches 165°F (74°C).
- Let them rest for 5 minutes before serving. This keeps all those delicious juices locked in.
Pro tip: If you want extra crispiness, broil for the last 2–3 minutes—just keep an eye on them to avoid burning!

Now that you’ve got the basics down for making the crispiest, juiciest oven-baked chicken legs, let’s dive into some pro tips and fun variations to make this dish your own!
Pro Tips for Perfect Chicken Legs Every Time
- Pat dry: Always pat your chicken legs dry with paper towels before seasoning – this helps the skin crisp up beautifully.
- Room temp magic: Let the chicken sit at room temperature for 20-30 minutes before baking for more even cooking.
- Don’t crowd: Give each leg some space on the baking sheet so they roast rather than steam.
- Flip for crispness: For extra crispy skin all over, flip the legs halfway through cooking.
Delicious Variations to Try
This recipe is wonderfully adaptable! Here are some tasty twists:
- Honey Garlic: Brush with a mix of honey, minced garlic, and soy sauce during the last 10 minutes
- Lemon Herb: Add lemon zest and fresh herbs like rosemary or thyme to the seasoning
- Spicy BBQ: Coat with your favorite BBQ sauce and a pinch of cayenne
- Parmesan Crusted: Mix grated parmesan into your breadcrumb coating
What to Serve With Your Chicken Legs
These juicy chicken legs pair perfectly with:
- Creamy mashed potatoes or roasted baby potatoes
- Steamed green beans or roasted Brussels sprouts
- A crisp garden salad with ranch dressing
- Cornbread or dinner rolls for soaking up the juices
- Mac and cheese for the ultimate comfort meal
Storage and Reheating Tips
Leftovers? No problem! Here’s how to keep them tasty:
- Storage: Let cool completely, then store in an airtight container in the fridge for up to 4 days.
- Freezing: Wrap individually in foil, then place in freezer bags for up to 3 months.
- Reheating: For crispy skin, reheat in a 375°F oven for 10-15 minutes. Microwave works in a pinch (about 2 minutes), but the skin won’t stay crisp.
Frequently Asked Questions
Can I use boneless chicken thighs instead?
Absolutely! The cooking time may be slightly shorter (check at 30 minutes), and you’ll miss out on some of that crispy skin magic, but the flavor will still be fantastic.
Why is my chicken skin not crispy?
The most common reasons are not drying the skin thoroughly before cooking, overcrowding the pan, or not using enough oil. Make sure to pat dry, space out your chicken, and don’t skip the oil!
Can I make this gluten-free?
Yes! Simply substitute gluten-free breadcrumbs or crushed gluten-free crackers in place of regular breadcrumbs.
How do I know when the chicken is fully cooked?
The safest way is to use a meat thermometer – chicken is done when it reaches 165°F at the thickest part. If you don’t have one, pierce the meat – the juices should run clear, not pink.
Final Thoughts
There’s something so comforting about a perfectly baked chicken leg – that golden, crispy skin giving way to tender, juicy meat underneath. Whether you’re cooking for a weeknight family dinner or meal prepping for the week ahead, this simple recipe delivers big on flavor with minimal effort. Don’t be surprised if this becomes your new go-to chicken recipe – it’s that good! Whip up a batch tonight and watch how quickly they disappear from the plate. Happy cooking!
PrintOven Baked Chicken Legs
Juicy and flavorful oven-baked chicken legs with a crispy skin, perfect for a simple and delicious meal.
Ingredients
For the Crust:
- 4 chicken legs (drumsticks and thighs)
- 2 tbsp olive oil
- 1 tsp garlic powder
- 1 tsp paprika
- 1 tsp dried thyme
- 1 tsp salt
- 1/2 tsp black pepper
- 1/2 tsp onion powder
Instructions
1. Prepare the Crust:
- Preheat the oven to 400°F (200°C). Line a baking sheet with parchment paper or foil.
- Pat the chicken legs dry with paper towels. Place them in a large bowl.
- Drizzle the chicken with olive oil, then sprinkle with garlic powder, paprika, thyme, salt, black pepper, and onion powder. Toss to coat evenly.
- Arrange the chicken legs on the prepared baking sheet, skin-side up.
- Bake for 35-40 minutes, or until the internal temperature reaches 165°F (74°C) and the skin is crispy and golden brown.
- Let the chicken rest for 5 minutes before serving.
Notes
You can customize the seasonings to taste.