
There’s something magical about the smell of chocolate wafting through the kitchen on a slow morning. It reminds me of lazy Sundays at my grandmother’s house, where she’d whip up the simplest batter and turn it into delicate, dreamy crepes—just for me. Those memories inspired this recipe for Easy Chocolate Crepes, a fuss-free version that feels indulgent but comes together in minutes. Whether you’re craving a sweet breakfast or a dessert that feels fancy (but isn’t), these crepes are your answer. Let’s make them together.
Ingredients You’ll Need
Gather these pantry staples—you might already have most of them!
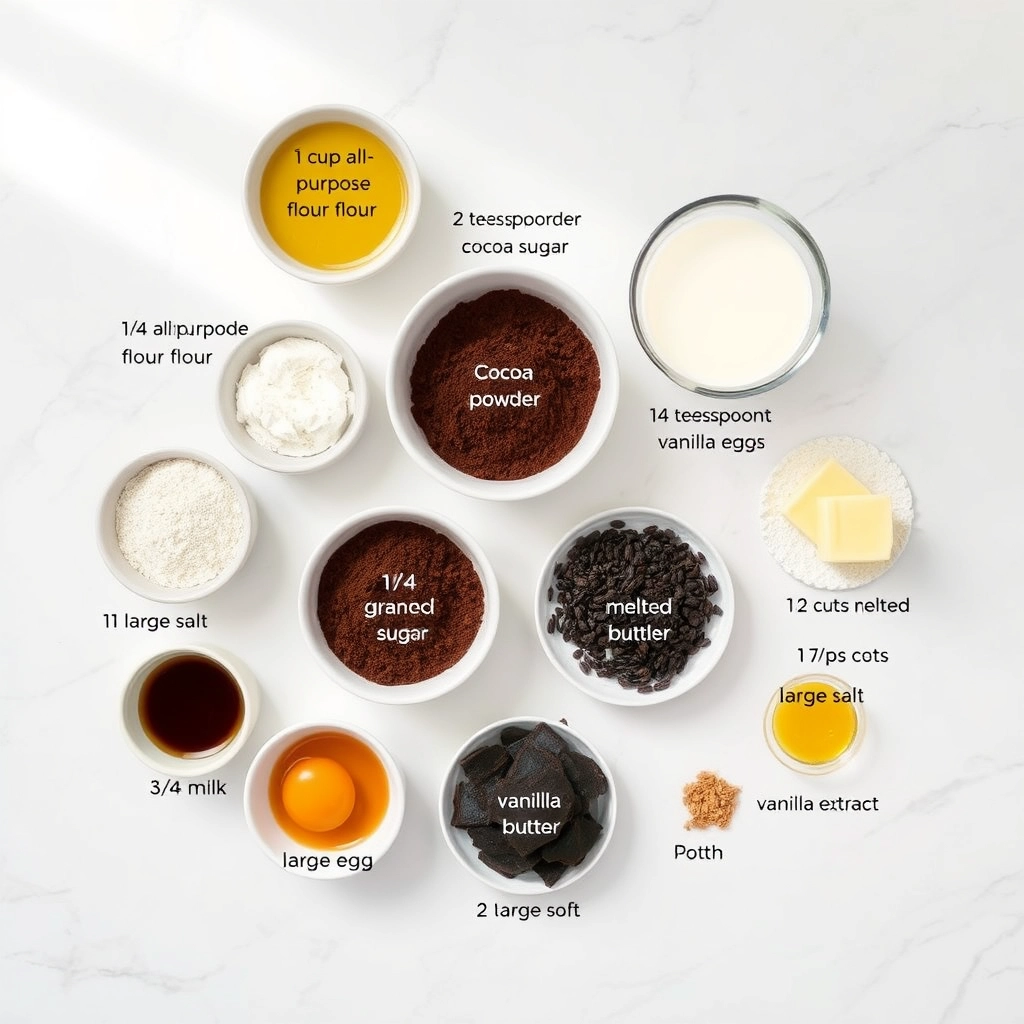
- 1 cup all-purpose flour – The base of our crepes. For a lighter texture, you can substitute half with cake flour.
- 2 tablespoons cocoa powder – Use unsweetened for the best chocolate flavor. Dutch-processed works beautifully here.
- 2 tablespoons granulated sugar – Just enough sweetness to balance the cocoa.
- Pinch of salt – Don’t skip this! It enhances all the flavors.
- 1 ¼ cups milk – Whole milk makes the crepes extra tender, but any milk works.
- 2 large eggs – They bind the batter and add richness.
- 2 tablespoons melted butter – Plus extra for greasing the pan. Browned butter adds a nutty twist!
- 1 teaspoon vanilla extract – A cozy depth of flavor.
How to Make Chocolate Crepes (Step-by-Step)
Follow these simple steps—no fancy techniques required!
- Whisk the dry ingredients: In a large bowl, sift together the flour, cocoa powder, sugar, and salt. This prevents lumps and ensures a silky batter.
- Blend the wet ingredients: In another bowl, whisk the milk, eggs, melted butter, and vanilla until smooth. Pour this into the dry ingredients and whisk gently—just until combined. A few small lumps are okay! Let the batter rest for 10 minutes (this relaxes the gluten for tender crepes).
- Heat the pan: Use a nonstick skillet or crepe pan over medium heat. Lightly brush with butter. The pan is ready when a drop of water sizzles.
- Cook the crepes: Pour about ¼ cup of batter into the center of the pan, swirling immediately to coat the bottom thinly. Cook for 1–2 minutes until the edges lift, then flip and cook for another 30 seconds. Repeat with the remaining batter, stacking cooked crepes on a plate.
Tip: Keep the heat moderate—too hot, and the crepes will crisp; too low, and they’ll stick. Adjust as you go!
Pro Tips, Variations, and Substitutions
Making chocolate crepes is a breeze, but a few insider tricks can take them from good to extraordinary. Here are some of my favorite tips and twists:
- For extra-rich crepes: Swap half the milk for heavy cream or add a tablespoon of melted butter to the batter.
- Dairy-free option: Use almond milk or oat milk and replace butter with coconut oil.
- Flavor boosters: Add a pinch of cinnamon, a splash of vanilla extract, or a teaspoon of instant espresso powder to deepen the chocolate flavor.
- Perfectly thin crepes: Let the batter rest for 30 minutes before cooking—this relaxes the gluten and prevents rubbery textures.
What to Serve With Chocolate Crepes
These delicate crepes are like a blank canvas for your favorite toppings! Here are some delicious pairings:
- Classic: A dusting of powdered sugar and fresh berries
- Decadent: Whipped cream and a drizzle of warm Nutella or salted caramel
- Breakfast-worthy: Sliced bananas and a dollop of Greek yogurt
- Grown-up twist: A scoop of vanilla ice cream and a shot of espresso for dipping
Storage and Reheating Tips
Got leftovers? No problem! Here’s how to keep your crepes tasting fresh:
- Refrigerate: Stack cooled crepes between sheets of parchment paper, store in an airtight container, and enjoy within 3 days.
- Freeze: Layer crepes with wax paper, wrap tightly in plastic, and freeze for up to 2 months.
- Reheating: Warm in a dry skillet over low heat for 30 seconds per side or microwave for 10-15 seconds (covered with a damp paper towel to prevent drying).
Frequently Asked Questions
Can I make the batter ahead of time?
Absolutely! The batter keeps well in the fridge for up to 24 hours—just give it a quick whisk before using.
Why do my crepes keep tearing?
Your pan might be too hot or not properly greased. Use medium-low heat and a light coating of butter or oil between crepes.
Can I use cocoa powder instead of melted chocolate?
Yes! Substitute 3 tablespoons cocoa powder + 1 tablespoon sugar for every ounce of melted chocolate.
Are these crepes gluten-free?
Not as written, but they work beautifully with a 1:1 gluten-free flour blend.
A Sweet Final Thought
There’s something magical about the way warm chocolate crepes fill the kitchen with their rich aroma—like a hug in food form. Whether you’re making them for a lazy Sunday breakfast or a romantic dessert, I hope this recipe becomes one of those cherished, repeat-worthy treats in your home. Don’t forget to lick the spoon… some traditions are too sweet to resist!
PrintEasy Chocolate Crepes
Delicate chocolate crepes perfect for breakfast or dessert, ready in minutes.
Ingredients
For the Crust:
- 1 cup all-purpose flour
- 2 tablespoons cocoa powder
- 2 tablespoons granulated sugar
- 1/4 teaspoon salt
- 1 1/4 cups milk
- 2 large eggs
- 2 tablespoons melted butter
- 1 teaspoon vanilla extract
Instructions
1. Prepare the Crust:
- In a large bowl, whisk together flour, cocoa powder, sugar, and salt.
- Add milk, eggs, melted butter, and vanilla extract. Whisk until smooth.
- Heat a lightly greased non-stick skillet over medium heat. Pour 1/4 cup batter into the skillet, swirling to coat the bottom evenly.
- Cook for about 1-2 minutes until edges lift easily. Flip and cook for another 30 seconds.
- Repeat with remaining batter. Serve warm with desired toppings.
Notes
You can customize the seasonings to taste.