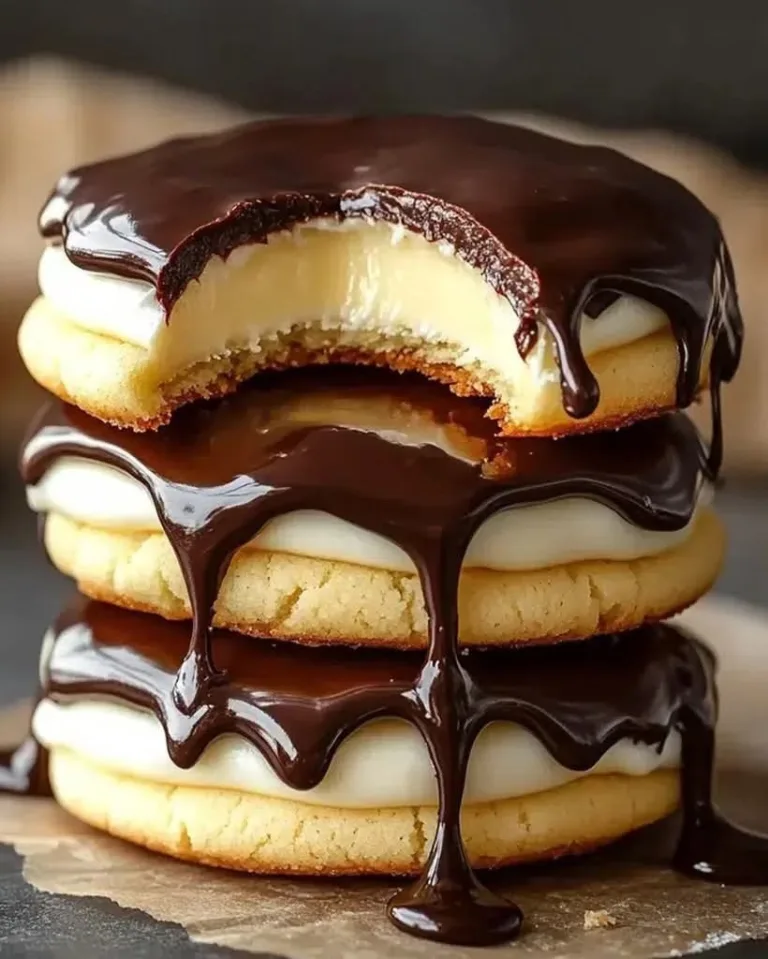
Easy Cheesecake Chia Pudding – Creamy & Delicious
There’s something so comforting about a dessert that feels indulgent yet secretly wholesome. Maybe it’s the creamy texture, the hint of vanilla, or the fact that you can enjoy it guilt-free—whatever it is, this Easy Cheesecake Chia Pudding has stolen my heart. I first whipped it up on a lazy Sunday morning when I was craving something sweet but didn’t want to spend hours in the kitchen. One bite, and I knew it was going to become a staple in my recipe rotation. Whether you’re a chia pudding skeptic or a longtime fan, this cheesecake-inspired version is about to become your new favorite treat.
Ingredients You’ll Need
Here’s what you’ll need to create this dreamy, creamy delight:
- Chia seeds – The star of the show! These tiny seeds expand into a luscious pudding texture.
- Cream cheese – Just a bit for that signature cheesecake tang. I love using full-fat for extra richness, but reduced-fat works too.
- Milk of choice – Almond, oat, or dairy milk all work beautifully.
- Maple syrup or honey – For a touch of natural sweetness. Adjust to your taste!
- Vanilla extract – A must for that classic cheesecake flavor.
- A pinch of salt – Trust me, it makes all the flavors pop.
- Optional toppings – Fresh berries, crushed graham crackers, or a drizzle of nut butter take it to the next level.
How to Make Cheesecake Chia Pudding
This recipe is as simple as stirring and waiting—no baking, no fuss!
- Mix the wet ingredients. In a bowl, whisk together the milk, softened cream cheese, maple syrup, vanilla, and salt until smooth. A few tiny lumps are okay—they’ll dissolve as the pudding sets.
- Add the chia seeds. Stir them in well to prevent clumping. I like to whisk again after 5 minutes to ensure even soaking.
- Let it rest. Cover and refrigerate for at least 2 hours (or overnight). The chia seeds will work their magic, thickening the mixture into a creamy pudding.
- Give it a stir. Before serving, fluff it up with a spoon. If it’s too thick, add a splash of milk to loosen.
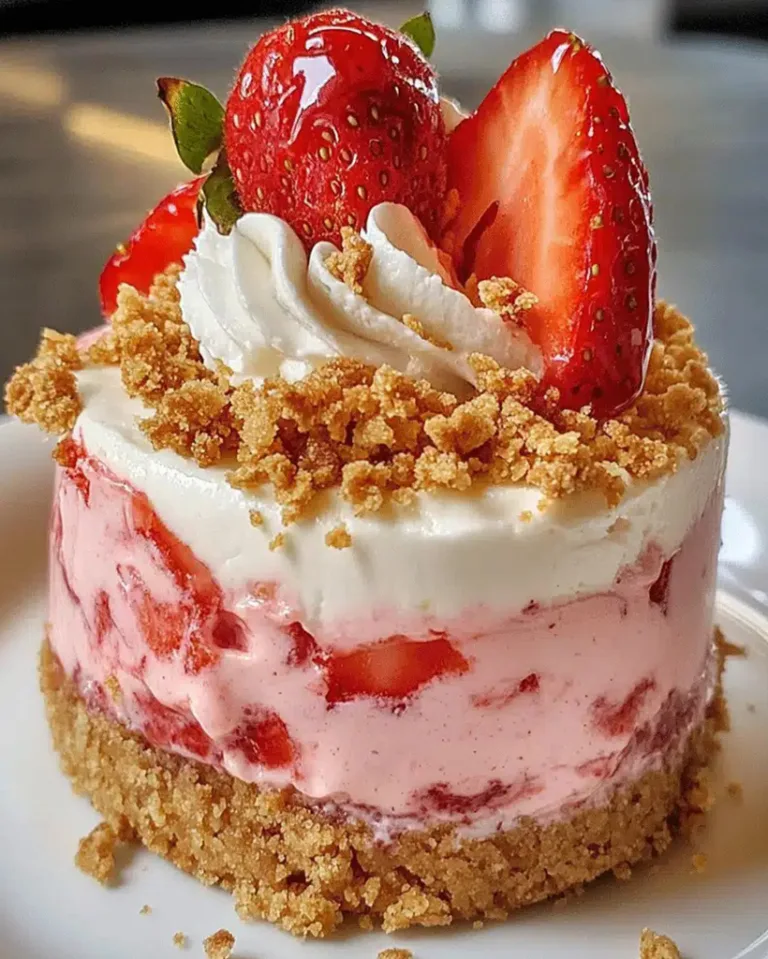
- Top and enjoy! Pile on fresh berries, a sprinkle of graham crumbs, or even a dollop of whipped cream for extra decadence.
Tip: If you’re short on time, blending the pudding after soaking creates an ultra-smooth texture—almost like a mousse!

There’s something magical about combining the rich, creamy taste of cheesecake with the wholesome goodness of chia seeds. This Easy Cheesecake Chia Pudding is not only a breeze to make but also a delightful treat that feels indulgent while being packed with nutrients. Whether you’re meal prepping for the week or craving a quick dessert, this recipe is a winner.
Pro Tips for the Perfect Cheesecake Chia Pudding
- Use Full-Fat Ingredients: For the creamiest texture, opt for full-fat cream cheese and Greek yogurt. The richness makes all the difference!
- Mix Thoroughly: Make sure your chia seeds are well incorporated to avoid clumping. A whisk works wonders here.
- Patience is Key: Let the pudding sit for at least 4 hours (or overnight) to thicken properly. The longer it rests, the better the texture.
Delicious Variations & Substitutions
This recipe is wonderfully adaptable. Here are a few ideas to switch things up:
- Dairy-Free: Swap cream cheese for dairy-free alternatives like cashew or almond-based cream cheese, and use coconut yogurt instead of Greek yogurt.
- Flavor Twists: Add a teaspoon of vanilla extract, lemon zest, or even a swirl of peanut butter for extra depth.
- Sweetener Options: Maple syrup, agave, or even a mashed banana can replace honey if you prefer.
What to Serve With Cheesecake Chia Pudding
This pudding is delicious on its own, but pairing it with a few extras takes it to the next level:
- Fresh berries (strawberries, blueberries, or raspberries)
- A sprinkle of granola for crunch
- A dollop of whipped cream or coconut cream
- A drizzle of melted dark chocolate
Storage & Reheating Tips
This chia pudding keeps beautifully in the fridge for up to 5 days when stored in an airtight container. If you prefer it warm (yes, it’s delicious that way too!), gently heat it in the microwave for 20-30 seconds or on the stovetop over low heat, stirring occasionally.
Frequently Asked Questions
Can I use frozen fruit as a topping?
Absolutely! Just thaw the fruit first and drain any excess liquid to keep your pudding from getting watery.
Why is my chia pudding too runny?
This usually happens if the chia seeds haven’t had enough time to absorb the liquid. Let it sit longer, or add an extra tablespoon of chia seeds and stir well.
Can I make this pudding without sweetener?
Yes! If you prefer a less sweet version, simply omit the honey or maple syrup. The natural creaminess of the yogurt and cream cheese still makes it delicious.
Is this recipe gluten-free?
Yes, as long as your ingredients (like yogurt and cream cheese) are gluten-free, this pudding is naturally gluten-free.
There you have it—a creamy, dreamy Cheesecake Chia Pudding that’s as easy to make as it is satisfying. Whether you enjoy it for breakfast, dessert, or a midday snack, it’s sure to become a favorite. Whip up a batch today and treat yourself to a little moment of indulgence. Happy eating!
PrintCheesecake Chia Pudding
A creamy and healthy chia pudding with the delicious flavor of cheesecake.
Ingredients
For the Crust:
- 1/4 cup chia seeds
- 1 cup almond milk
- 2 tbsp cream cheese, softened
- 1 tbsp honey or maple syrup
- 1/2 tsp vanilla extract
- 1/4 cup fresh berries for topping
Instructions
1. Prepare the Crust:
- In a bowl, whisk together almond milk, cream cheese, honey, and vanilla extract until smooth.
- Add chia seeds and stir well to combine.
- Cover and refrigerate for at least 4 hours or overnight, stirring once or twice to prevent clumping.
- Before serving, top with fresh berries.
Notes
You can customize the seasonings to taste.