


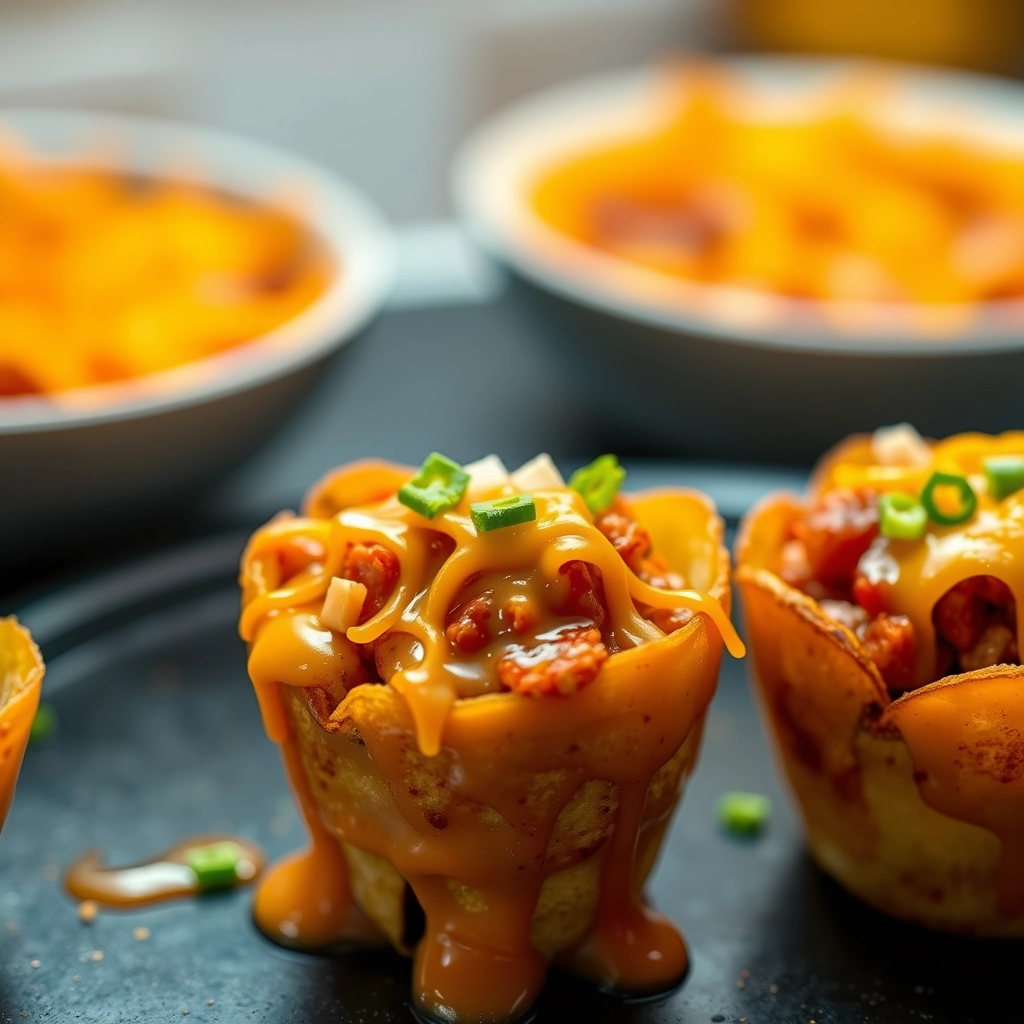
There’s something about bite-sized comfort food that just feels right, isn’t there? Whether it’s a cozy night in with friends or a game day spread that needs a little extra love, these Loaded Tater Cups are my go-to for guaranteed smiles. I first made them on a whim for a last-minute gathering, and now they’re requested at every potluck—crispy potato cups cradling melty cheese, smoky bacon, and all the fixings. They’re like loaded baked potatoes… but infinitely more fun to eat!
Ingredients You’ll Need
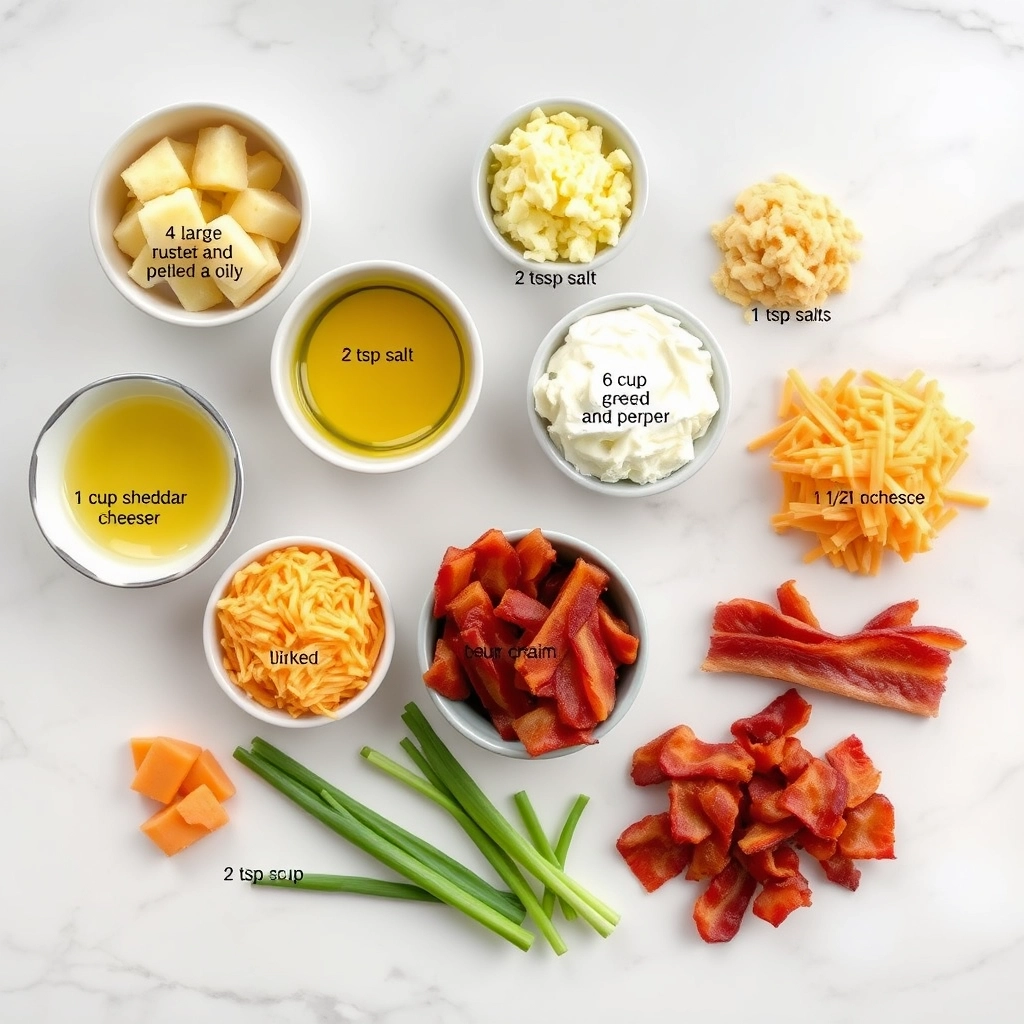
Gather these simple ingredients for a crowd-pleasing appetizer:
- Russet potatoes – The starchy king of potatoes, perfect for crisp edges and tender centers.
- Shredded cheddar cheese – Sharp or mild, but always freshly grated for the best melt.
- Crispy bacon – Because everything’s better with bacon (turkey bacon works too!).
- Sour cream – A cool, creamy contrast to the savory toppings.
- Green onions – For that fresh, oniony bite and a pop of color.
- Butter & olive oil – A duo for golden, flavorful potato cups.
- Salt & pepper – Simple, but don’t skimp—potatoes need seasoning love!
How to Make Loaded Tater Cups
Follow these easy steps for perfect little potato bites every time:
- Prep the potatoes: Scrub them clean (no peeling needed!), then slice into ½-inch thick rounds. Toss with melted butter, olive oil, salt, and pepper—get those flavors in every nook.
- Shape the cups: Press each round into a greased muffin tin, forming a little well in the center. Don’t worry if they crack slightly—they’ll crisp up beautifully.
- Bake until golden: Pop them in a 400°F oven for 25-30 minutes until the edges are crispy. Let them cool slightly before adding toppings—this keeps them sturdy.
- Load ‘em up: Fill each cup with cheese and crumbled bacon, then return to the oven just until the cheese bubbles (about 3 minutes). Finish with dollops of sour cream and a sprinkle of green onions.
Tip: If your potato cups puff up during baking, gently press the centers down with a spoon while they’re still warm. And for extra crispiness, brush the muffin tin with a little extra oil before adding the potatoes!

Pro Tips, Variations, and Substitutions
These loaded tater cups are incredibly versatile, so don’t be afraid to get creative! Here are some ideas to make them your own:
- Swap the potatoes: Sweet potatoes or even cauliflower tots make a delicious twist.
- Change up the cheese: Pepper jack, gouda, or even blue cheese crumbles can add a fun kick.
- Add protein: Crispy bacon, shredded chicken, or ground beef turn these into a heartier appetizer.
- Make them spicy: A dash of hot sauce, diced jalapeños, or a sprinkle of cayenne will heat things up.
- Go vegetarian: Skip the bacon and load up with sautéed mushrooms, black beans, or extra veggies.
What to Serve With Loaded Tater Cups
These cheesy bites are perfect for game day, parties, or even a cozy night in. Pair them with:
- A cool and creamy ranch or sour cream dip
- Crisp veggie sticks for a fresh contrast
- A frosty beer or a tangy margarita
- Other finger foods like buffalo wings or sliders
Storage and Reheating Tips
If you have leftovers (which is rare!), here’s how to keep them tasting great:
- Storage: Let them cool completely, then store in an airtight container in the fridge for up to 3 days.
- Reheating: Pop them in the oven at 350°F for 5–10 minutes until crispy again. The microwave works in a pinch, but they won’t stay as crisp.
- Freezing: You can freeze them before baking—just assemble, freeze on a tray, then transfer to a bag. Bake from frozen, adding a few extra minutes.
Frequently Asked Questions
Can I make these ahead of time?
Yes! Assemble them a few hours before baking and keep them covered in the fridge. Bake just before serving for the best texture.
Can I use store-bought tater tots?
Absolutely! Frozen tater tots work perfectly—just thaw them slightly so they’re easier to press into the muffin tin.
Why are my tater cups falling apart?
If they’re crumbling, you may not have pressed them firmly enough into the tin. A little extra cheese on the bottom layer can help bind them too.
Can I make these gluten-free?
Definitely! Just ensure your tater tots and any added ingredients (like bacon bits) are gluten-free.
Final Thoughts
There’s something magical about bite-sized comfort food, and these loaded tater cups deliver every time. Whether you’re hosting a crowd or just treating yourself, they’re guaranteed to disappear fast. The best part? They’re so easy to customize that you’ll never get bored. So grab that muffin tin, pile on your favorite toppings, and get ready for cheesy, crispy perfection. Happy cooking!
PrintLoaded Tater Cups
Crispy potato cups filled with melted cheese, bacon, and green onions for a delicious appetizer or snack.
Ingredients
For the Crust:
- 4 large russet potatoes, peeled and grated
- 2 tbsp olive oil
- 1 tsp salt
- 1/2 tsp black pepper
- 1 cup shredded cheddar cheese
- 6 slices bacon, cooked and crumbled
- 1/4 cup sour cream
- 2 green onions, thinly sliced
Instructions
1. Prepare the Crust:
- Preheat oven to 400°F (200°C). Grease a muffin tin with cooking spray.
- In a bowl, mix grated potatoes, olive oil, salt, and pepper. Press the mixture into the muffin cups to form small cups.
- Bake for 20-25 minutes or until the edges are golden and crispy.
- Remove from oven and fill each cup with shredded cheddar cheese and crumbled bacon. Return to oven for 5 minutes to melt the cheese.
- Top with sour cream and green onions before serving.
Notes
You can customize the seasonings to taste.