


There’s something undeniably comforting about the smell of garlic bread toasting in the oven—buttery, garlicky, and just a little bit crispy at the edges. It’s the kind of side dish that makes even the simplest meal feel like a feast. And while store-bought garlic bread has its place, nothing beats the rich, homemade version slathered with a spread you whipped up yourself. Today, I’m sharing my go-to recipe for the Best Homemade Garlic Bread Spread—so easy, you’ll wonder why you ever settled for anything else.
Ingredients You’ll Need
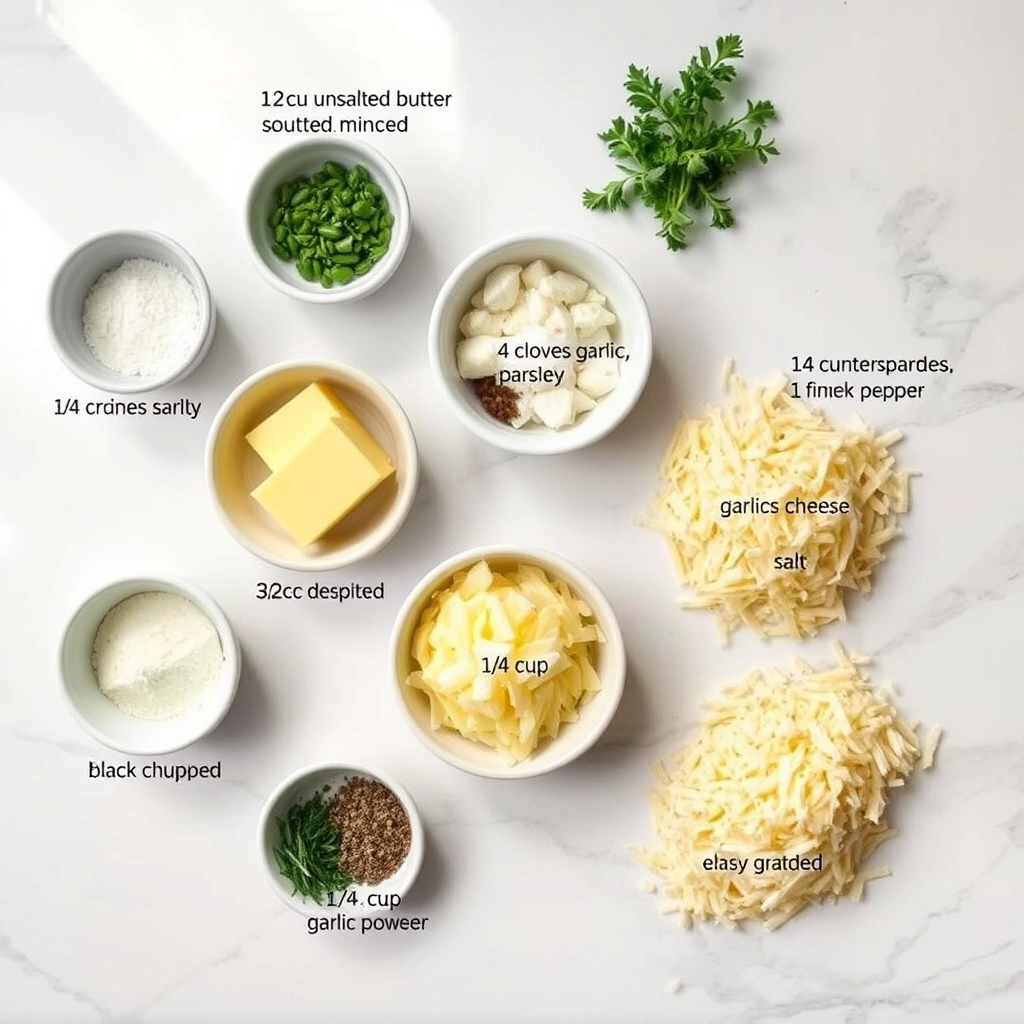
This recipe keeps things simple but packs in tons of flavor. Here’s what you’ll need:
- 1/2 cup (1 stick) unsalted butter, softened – The base of any good garlic spread. Unsalted lets you control the seasoning, but salted works in a pinch (just adjust the added salt).
- 4–5 garlic cloves, minced – Fresh is best here! The more garlic, the better, in my opinion, but adjust to your taste.
- 2 tablespoons fresh parsley, finely chopped – Adds a pop of color and freshness. If you don’t have fresh, 1 tablespoon dried parsley works, too.
- 1/4 teaspoon salt – Just enough to enhance all the flavors.
- 1/4 teaspoon black pepper – A little warmth to balance the garlic.
- 1/4 teaspoon garlic powder (optional) – For an extra garlic punch!
- 1/4 teaspoon onion powder (optional) – Adds depth without overpowering.
- 2 tablespoons grated Parmesan cheese (optional) – Because cheese makes everything better.
How to Make the Best Garlic Bread Spread
This comes together in minutes—no fancy techniques required!
- Soften the butter. Let it sit at room temperature for about 30 minutes, or microwave it in 5-second bursts until soft but not melted.
- Mince the garlic. For the best texture, I like to finely mince mine, but you can also press it through a garlic press if you prefer.
- Chop the parsley. Fresh herbs make all the difference here, so take the extra minute to finely chop them.
- Mix everything together. In a small bowl, combine the softened butter, garlic, parsley, salt, pepper, and any optional add-ins. Stir until everything is well incorporated.
- Taste and adjust. Give it a quick taste—add more garlic, salt, or herbs if needed.
Tip: If you’re not using the spread right away, transfer it to a small jar or wrap it in parchment paper and refrigerate. It’ll keep for up to a week, or you can freeze it for longer storage!

Pro Tips, Variations, and Substitutions
Making the perfect garlic bread spread is all about personalizing it to your taste. Here are some expert tips and fun twists to try:
- Fresh is best: Use freshly minced garlic for the most vibrant flavor. If you’re in a pinch, ½ teaspoon of garlic powder can substitute for each clove.
- Herb variations: Swap parsley for basil, oregano, or even a pinch of red pepper flakes for a spicy kick.
- Cheesy upgrade: Stir in ¼ cup of grated Parmesan or Pecorino Romano for an extra layer of richness.
- Vegan-friendly: Replace butter with high-quality olive oil or vegan butter for a plant-based version.
What to Serve With Garlic Bread
This garlic bread spread isn’t just for bread—though it’s heavenly on a toasted baguette! Here are a few delicious pairings:
- Classic spaghetti and meatballs
- Creamy tomato soup
- Grilled chicken or steak
- Roasted vegetables for a garlicky side
Storage and Reheating Tips
Leftover garlic bread spread? No problem! Here’s how to keep it fresh:
- Storage: Transfer the spread to an airtight container and refrigerate for up to 5 days.
- Freezing: For longer storage, freeze in small portions for up to 2 months. Thaw in the fridge before using.
- Reheating: Warm gently in the microwave or let it soften at room temperature before spreading.
Frequently Asked Questions
Can I use salted butter instead of unsalted?
Absolutely! Just adjust the added salt to taste—start with half the amount and adjust as needed.
How can I make my garlic bread extra crispy?
Broil the bread for the last 1–2 minutes of baking, keeping a close eye to prevent burning.
Can I make this spread ahead of time?
Yes! The flavors meld beautifully when made a day in advance—just store it covered in the fridge.
What’s the best bread to use?
A crusty Italian loaf or French baguette works best, but sourdough or ciabatta are delicious alternatives.
Final Thoughts
There’s something truly magical about homemade garlic bread—the golden crust, the buttery aroma, and that first warm, garlicky bite. Whether you’re serving it at a family dinner or enjoying it as a cozy snack, this spread is sure to become a staple in your kitchen. Whip up a batch, gather your loved ones, and savor the simple joy of freshly baked garlic bread. Happy cooking!
PrintEasy Homemade Garlic Bread Spread
A simple and flavorful garlic spread perfect for homemade garlic bread.
Ingredients
For the Crust:
- 1/2 cup unsalted butter, softened
- 4 cloves garlic, minced
- 1 tablespoon fresh parsley, finely chopped
- 1/2 teaspoon salt
- 1/4 teaspoon black pepper
- 1/4 teaspoon dried oregano
- 1/4 teaspoon garlic powder
- 1/4 cup grated Parmesan cheese
Instructions
1. Prepare the Crust:
- In a medium bowl, combine the softened butter, minced garlic, parsley, salt, black pepper, oregano, and garlic powder.
- Mix well until all ingredients are fully incorporated.
- Stir in the grated Parmesan cheese until evenly distributed.
- Spread the mixture evenly on sliced bread or rolls.
- Bake in a preheated oven at 375°F (190°C) for 10-12 minutes or until golden and bubbly.
Notes
You can customize the seasonings to taste.